Essential Guidelines for Safe and Effective Hammer Usage
Working with hammers might seem straightforward, but mastering their proper use requires more knowledge than most people realize. From weekend DIY enthusiasts to professional craftsmen, many individuals unknowingly develop habits that can compromise both their safety and work quality. Understanding the fundamentals of hammer usage not only ensures better results but also prevents potential injuries and damage to materials.
Whether you're hanging pictures, doing carpentry work, or tackling major construction projects, hammers remain one of the most frequently used tools in any toolkit. Their versatility makes them indispensable, but this same quality also means there are numerous ways their use can go wrong. Let's explore the critical aspects of proper hammer usage and the common pitfalls to avoid.
Understanding Different Types of Hammers and Their Applications
Selecting the Right Hammer for Your Project
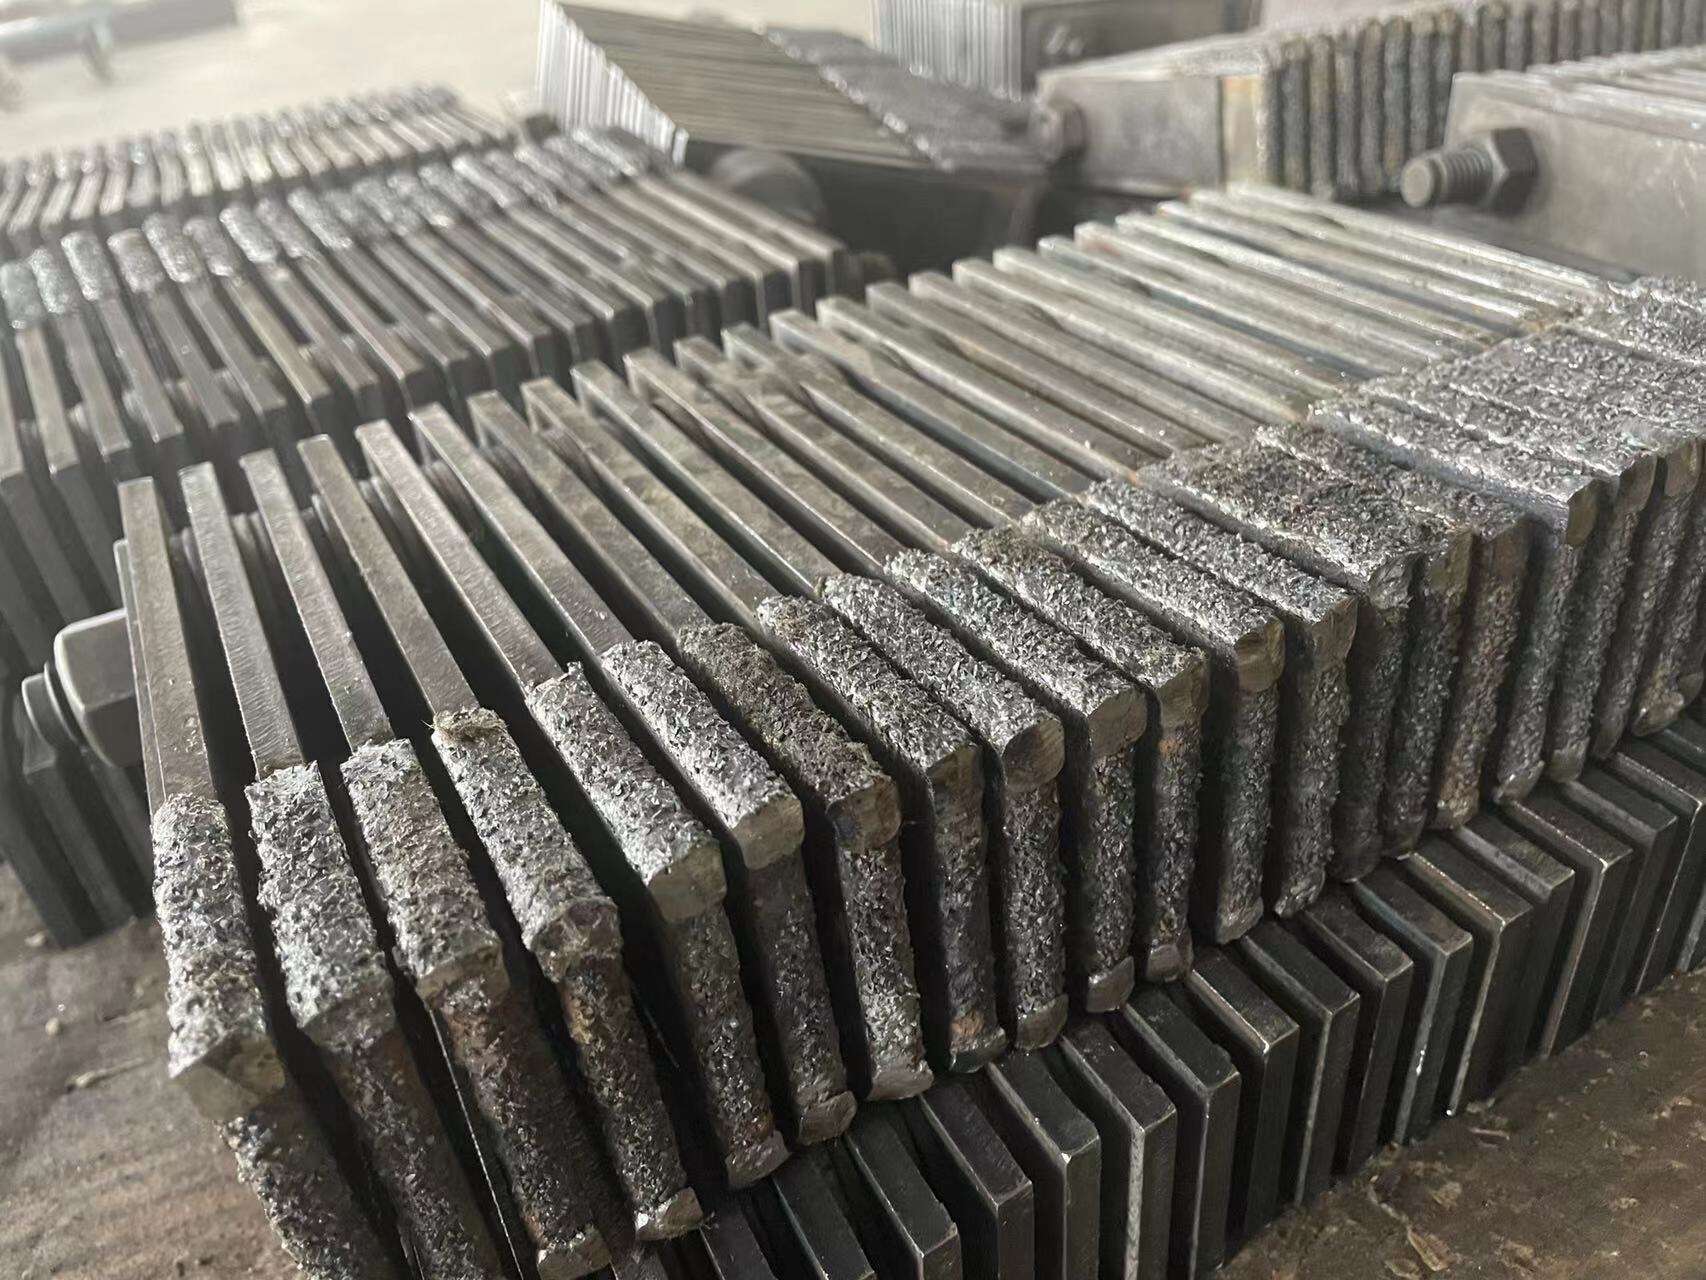
Many DIY enthusiasts make the mistake of treating all hammers as identical tools. However, hammers come in various types, each designed for specific purposes. Claw hammers, typically weighing between 16 and 20 ounces, are perfect for general carpentry and household tasks. Ball-peen hammers excel in metalworking applications, while sledgehammers are essential for demolition work and driving large stakes.
The weight and handle length of hammers also play crucial roles in their effectiveness. Lighter hammers offer better control for precise work, while heavier ones provide more driving force. Using the wrong type can lead to damaged materials, poor results, and potential safety hazards.
Material-Specific Hammer Considerations
Different materials require different approaches with hammers. Wood, metal, concrete, and masonry each demand specific hammer types and techniques. Using a standard claw hammer on masonry, for instance, can result in damaged tools and materials. Similarly, attempting metalwork with a wooden-handled hammer meant for carpentry can be dangerous due to potential handle failure.
Professional craftsmen understand that investing in the right hammers for specific materials saves time and ensures quality results. They also recognize that proper maintenance of these tools, including regular inspection of handles and heads, is essential for long-term reliability.
Proper Grip and Stance Techniques
Mastering the Basic Hammer Grip
The way you hold hammers significantly impacts both accuracy and safety. A common mistake is gripping the handle too close to the head, which reduces striking power and control. The proper technique involves holding the hammer near the end of the handle, allowing for maximum leverage and control. Your grip should be firm but not tense, enabling natural wrist movement during strikes.
Many beginners make the error of using a death grip on their hammers, leading to fatigue and reduced accuracy. A relaxed grip allows for better control and helps prevent repetitive strain injuries during extended use. The thumb should rest along the handle, not wrapped around it, for optimal guidance and control.
Body Positioning for Effective Hammer Use
Your stance plays a crucial role in hammer efficiency and safety. Stand with feet shoulder-width apart, maintaining a balanced position that allows for natural arm movement. Position yourself so the striking surface is at a comfortable height, typically between chest and waist level. This positioning helps prevent back strain and ensures better accuracy.
Remember to maintain proper distance from your work. Standing too close or too far from the target affects both power and accuracy. The ideal position allows your arm to move naturally through its full range of motion while keeping the striking surface within comfortable reach.
Common Impact and Striking Errors
Avoiding Glancing Blows
One of the most frequent mistakes when using hammers is failing to strike surfaces squarely. Glancing blows not only reduce effectiveness but can also damage materials and potentially cause injury. The hammer face should be parallel to the striking surface, ensuring maximum force transfer and control. This becomes particularly important when driving nails, where accurate strikes prevent bent nails and damaged work surfaces.
Practice hitting targets squarely by starting with slower, controlled strikes. As you develop accuracy, you can gradually increase speed while maintaining precision. Remember that consistent, accurate hits are more effective than powerful but poorly aimed strikes.
Managing Strike Force and Control
Many users apply excessive force when using hammers, believing stronger hits yield better results. However, controlled, precise strikes are usually more effective than forceful blows. Start with lighter hits to set nails or position materials, then increase force as needed. This approach provides better control and reduces the risk of damage to both materials and tools.
Understanding when to use full force and when to exercise restraint comes with experience. Different materials and applications require varying levels of force. Developing this feel for appropriate strike strength is essential for professional-quality results.
Safety and Maintenance Fundamentals
Essential Safety Practices
Safety should always be the primary concern when working with hammers. Wear appropriate eye protection to guard against flying debris, and ensure your work area is clear of obstacles. Never use hammers with loose or damaged handles, as these pose significant safety risks. Keep your workspace well-lit and organized to prevent accidents.
Be aware of your surroundings and others working nearby. Flying nails or debris can travel surprising distances, making it essential to maintain a safe perimeter around your work area. Regular tool inspection before use helps prevent accidents and ensures optimal performance.
Proper Tool Maintenance
Regular maintenance extends the life of hammers and ensures safe operation. Clean hammer heads after use, particularly when working with adhesives or corrosive materials. Check wooden handles for splits or cracks, and replace them if damaged. Metal handles should be inspected for bends or weak points.
Store hammers in a dry location to prevent rust and handle deterioration. Consider applying light oil to metal parts to prevent corrosion, especially in humid environments. Proper storage and maintenance not only extend tool life but also maintain safety and performance.
Frequently Asked Questions
How do I choose the right weight hammer for my needs?
Select a hammer weight based on your primary use. For general household tasks and carpentry, a 16-ounce hammer provides good versatility. Lighter hammers (12-14 ounces) offer better control for finish work, while heavier ones (20+ ounces) are better for framing and demolition work. Consider your strength and the type of work you'll be doing most often.
What's the best way to remove a bent nail without damaging the surface?
Use the claw end of your hammer to grip the nail shaft as close to the surface as possible. Place a small block of wood under the head of the hammer to create leverage and protect the surface. Roll the hammer gently backward to extract the nail vertically, preventing further damage to the material.
How often should I replace my hammer?
Replace hammers when you notice significant wear on the striking face, cracks in the handle, or loosening of the head. Even without visible damage, consider replacement every 5-10 years with regular use, or sooner if you use them professionally. Always prioritize safety over tool longevity when making replacement decisions.